


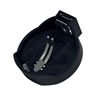
Below is a guide to build the Star Atlas Energy Gun
x8 3D printed parts and internal electronics
The short answer is because I live in AUSTRALIA, the nanny state of the world!
Just too many hoops to jump through to export this legally
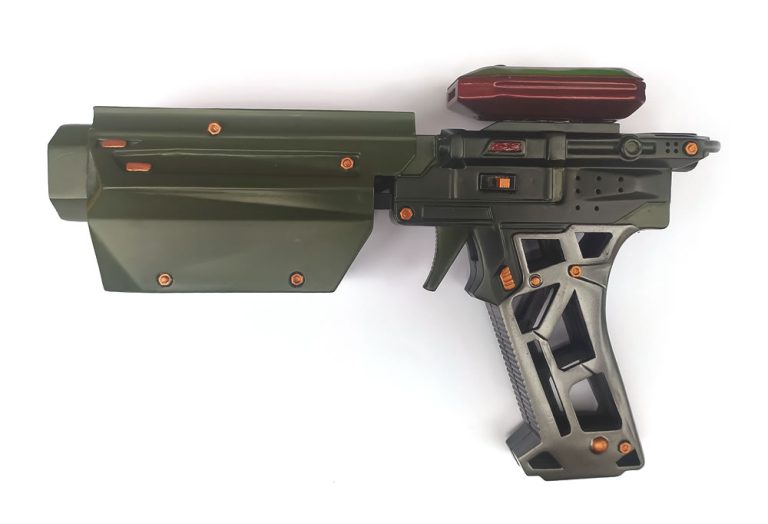
The image above on the left is the original Star Atlas gun image I based the design from. You will notice the display is slightly different, I had great difficulty replicating this. Where its located is right where we need to mount the pivot post for the trigger.
I relocated it to the back of the gun which actually is a much more practical location as its right in your face so is easier to read, I also sourced a larger square display to fit the space in an asthetically pleasing way.
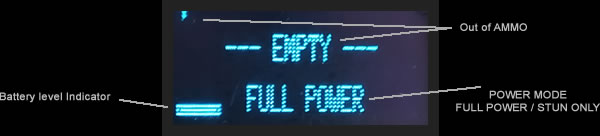
On power up, handle light is illuminated and splash screen displays for 4 seconds
Then display shows no energy (zero bars on display)
Power Up Audio effect plays.
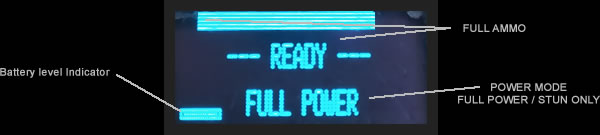
Slide the charge module to obtain full charge (100 bars) on the display.
Recharge Audio effect plays.
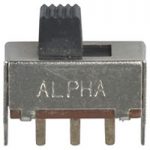
Power Mode switch sets STUN mode or FULL POWER mode and illuminates corresponding LED.
Display is updated when changed.
Full Power Fire Mode
On FIRE a slow pulse of light (40ms)
Full Power Fire Audio effect
Energy display reduced by 10 bars.
STUN Fire Mode
On FIRE a fast pulse of light (20ms)
STUN Audio effect
Energy display reduced by 3 bars.
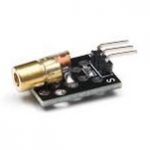
Laser Sight Module supplies a red dot laser target.
BUILD IT !!!
The 3D print files are available for purchase & download.
The internal electronics is also available for purchase, assembly instructions are below.
Because these assemblies will be screwed together it is recommended to print at 50%-100% infill.
The electronics is based around a small micro-controller with custom written code.
A small lithium ion battery powers the unit which is also USB rechargeable.
INTERNAL KIT
The internal electronics are available for purchase fully assembled and working. This will be supplied as a ‘Internals Kit’ which includes:
Electronics + Battery
Trigger return spring
Collumated lense
Because I live in Australia which is the NANNY STATE OF THE WORLD, I can’t supply the red dot laser module as part of the kit.
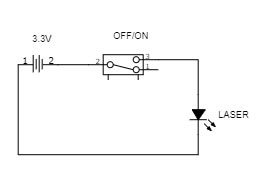
Lasers of this type (even simple laser pointers) are considered weapons here and banned so, as I prefer to stay out of jail I will only supply the circuit diagram for this. Parts are easily found online.
Similarily, sending the printed housing for a gun even though its a toy is problematic from Australia, for this reason i also can’t supply the 3D printed housings.
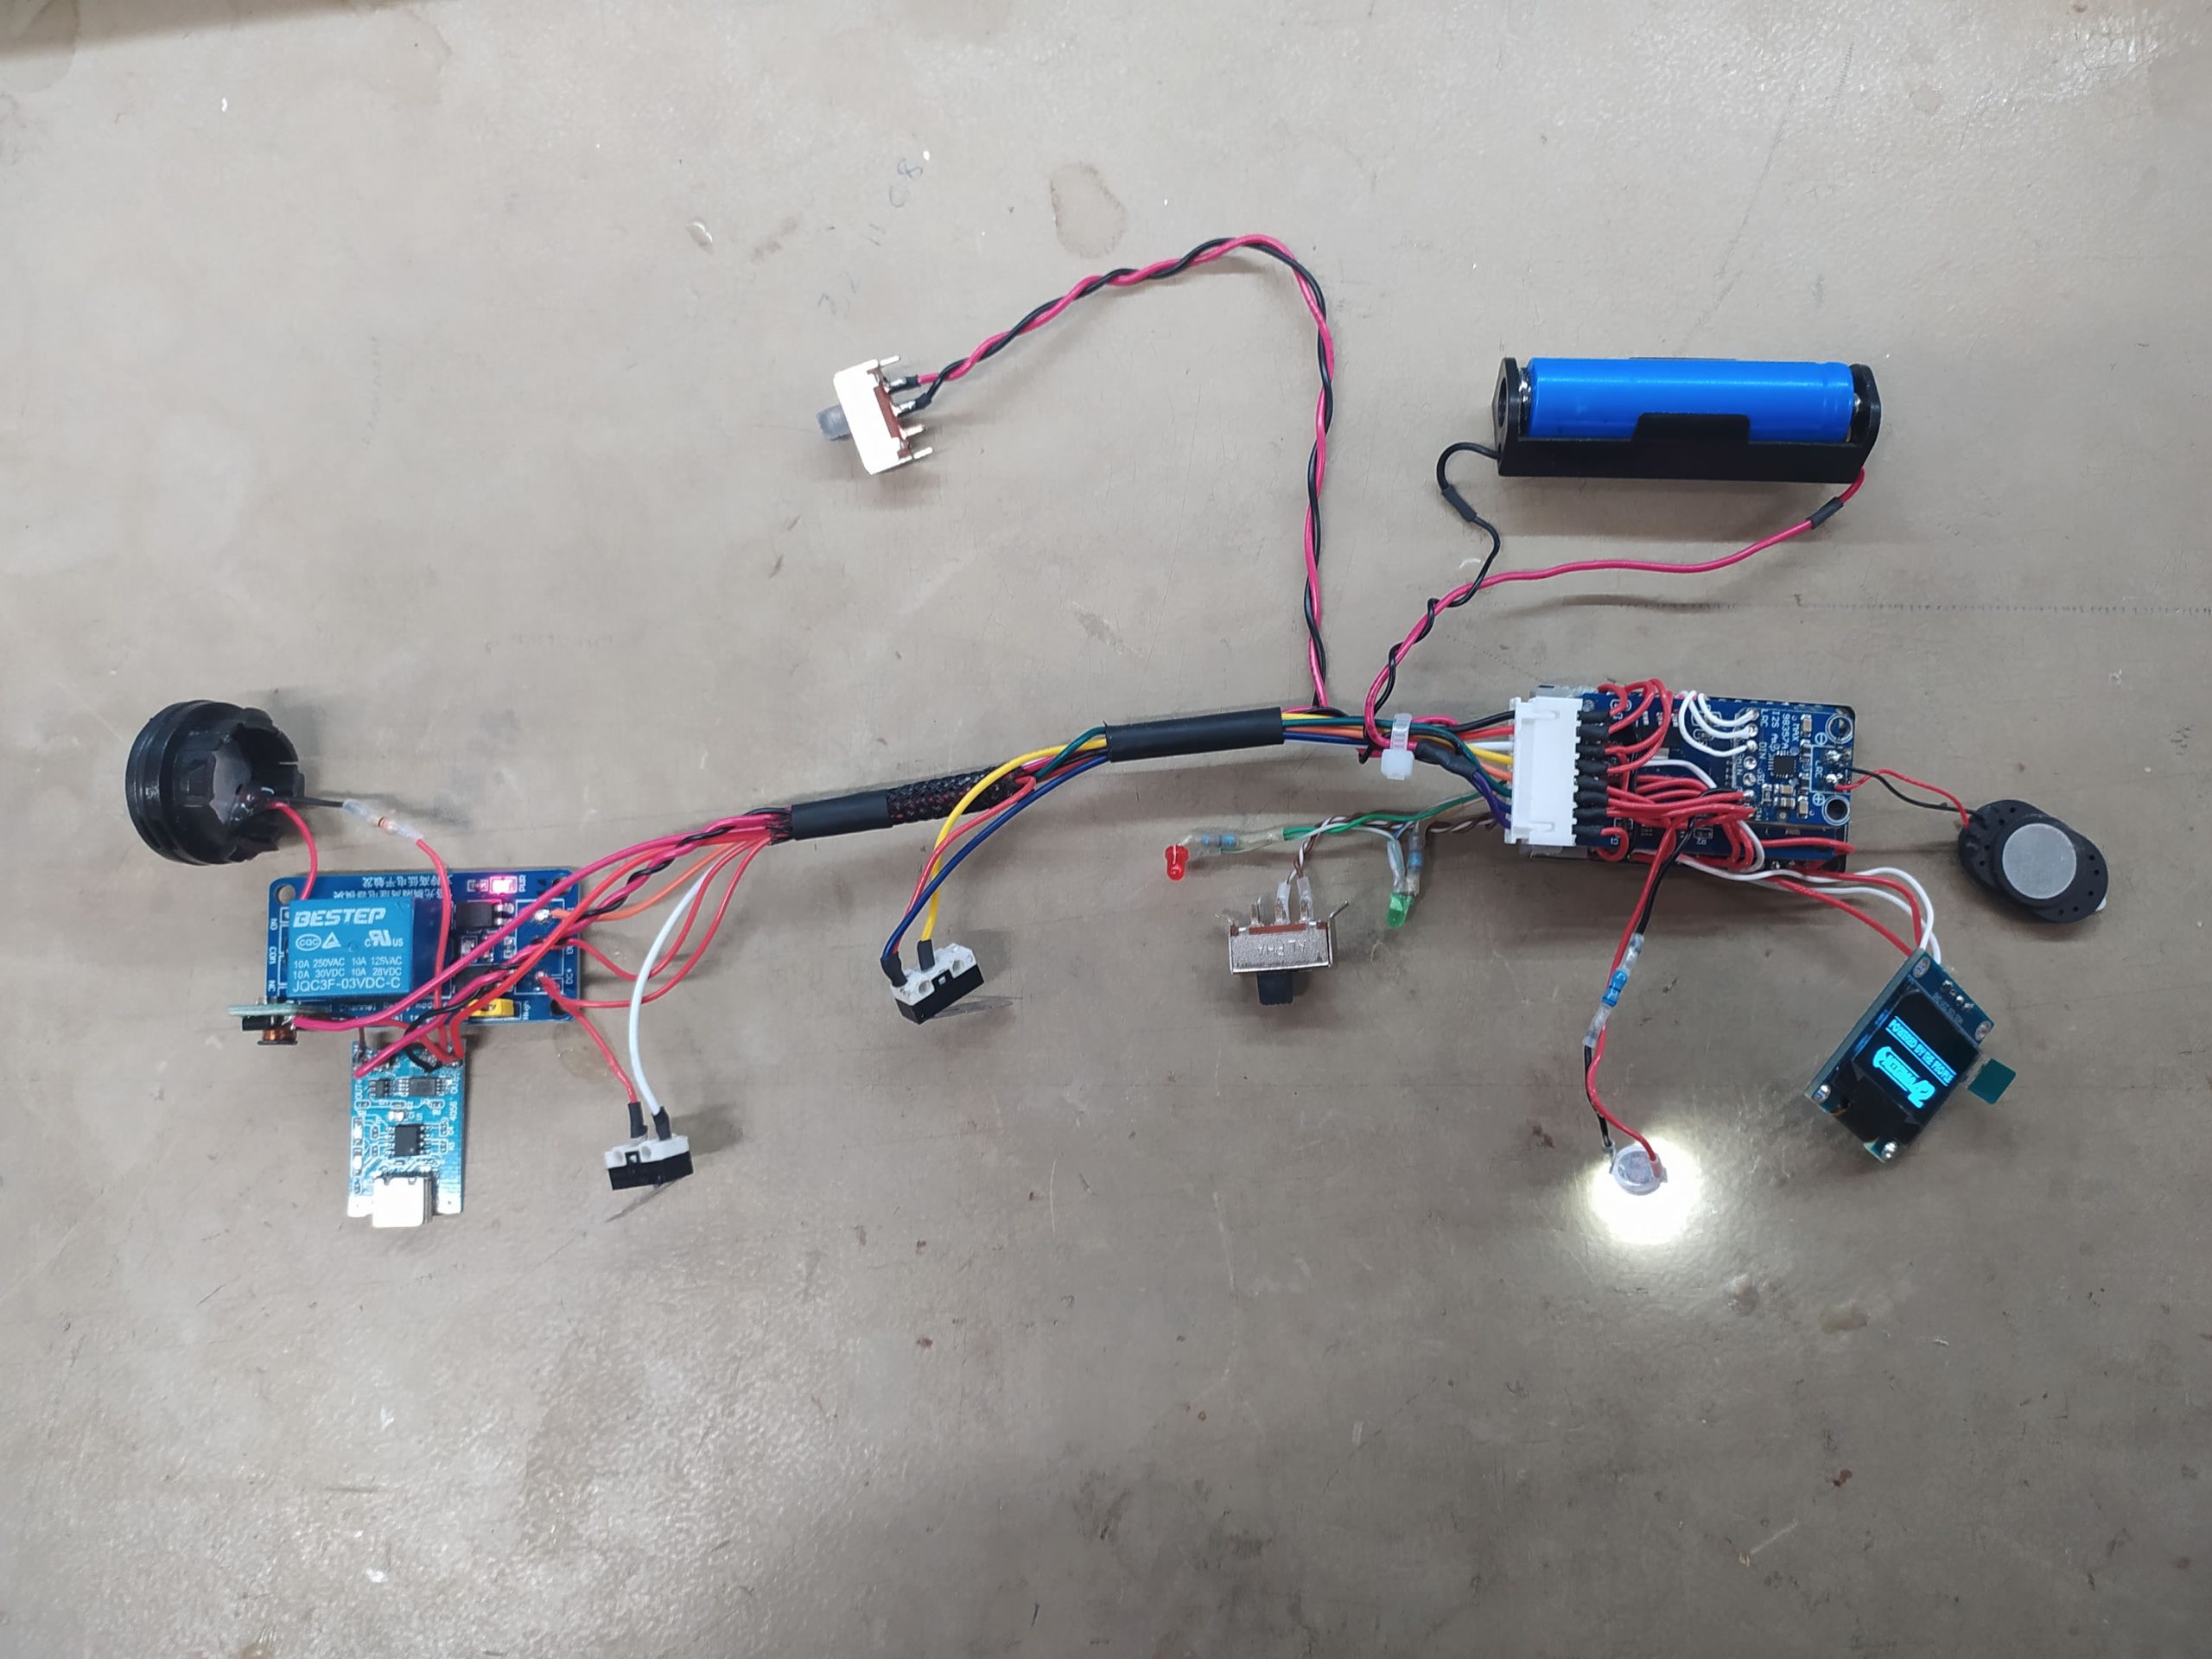
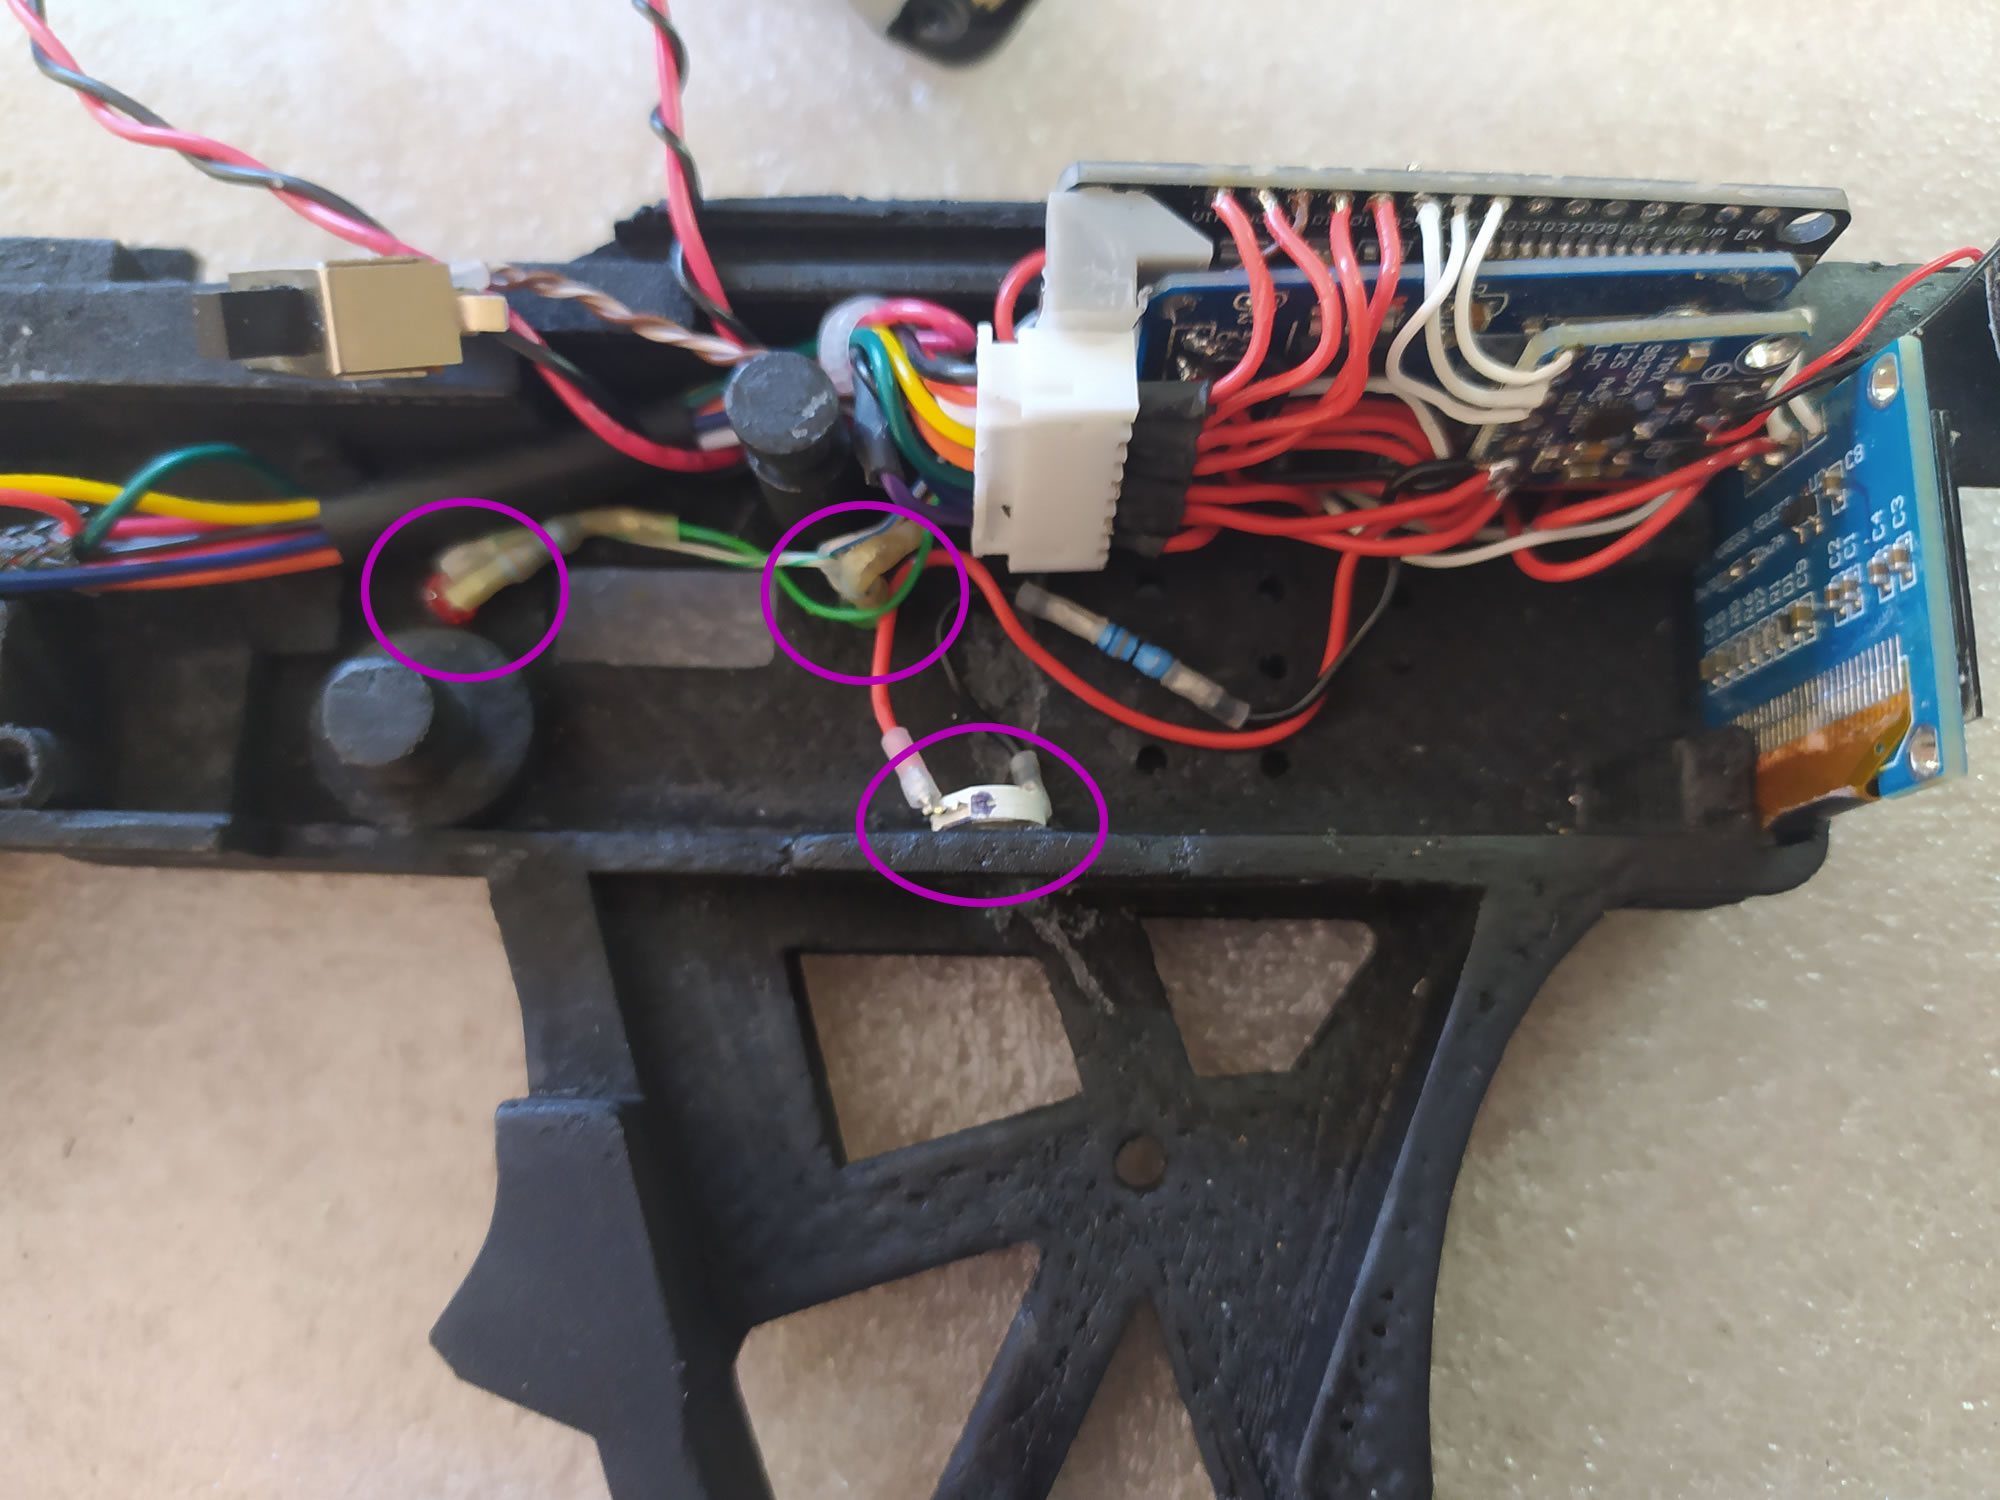
The internal electronics assembly is shown below
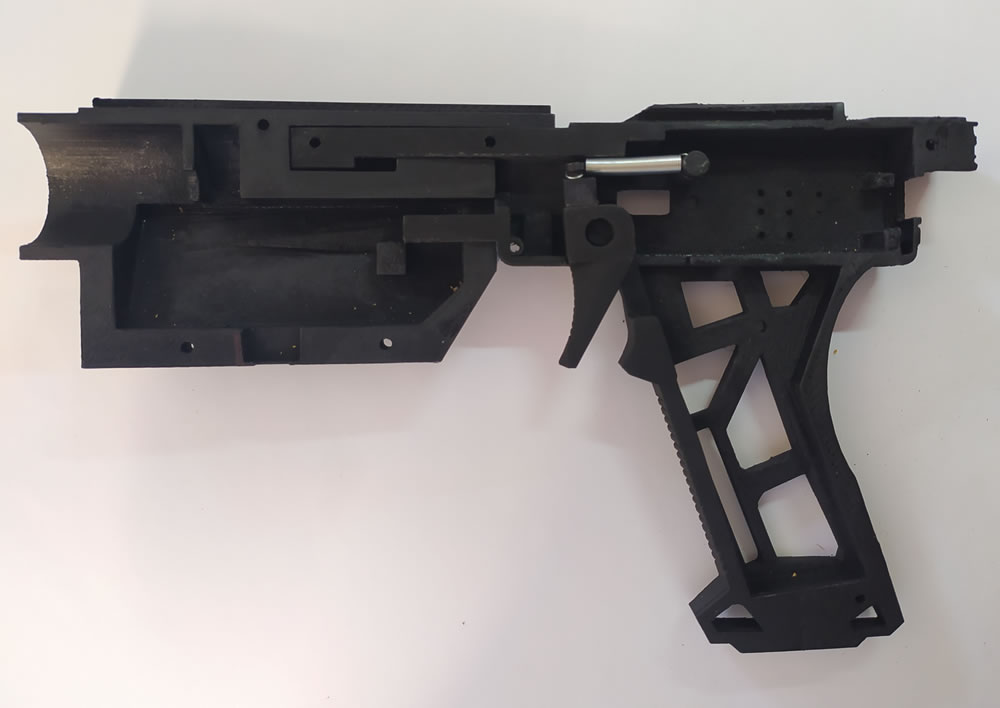
Pre – Assemble trigger as shown below with supplied return spring bending slightly into shape.
Do not fit yet, just make sure all parts are prepped to fit together.
Fit main pcb assy and install the small power level LED’s and handle light LED in place
Fit the power level switch and battery holder, glueing into place
Fit the Trigger & Return Spring
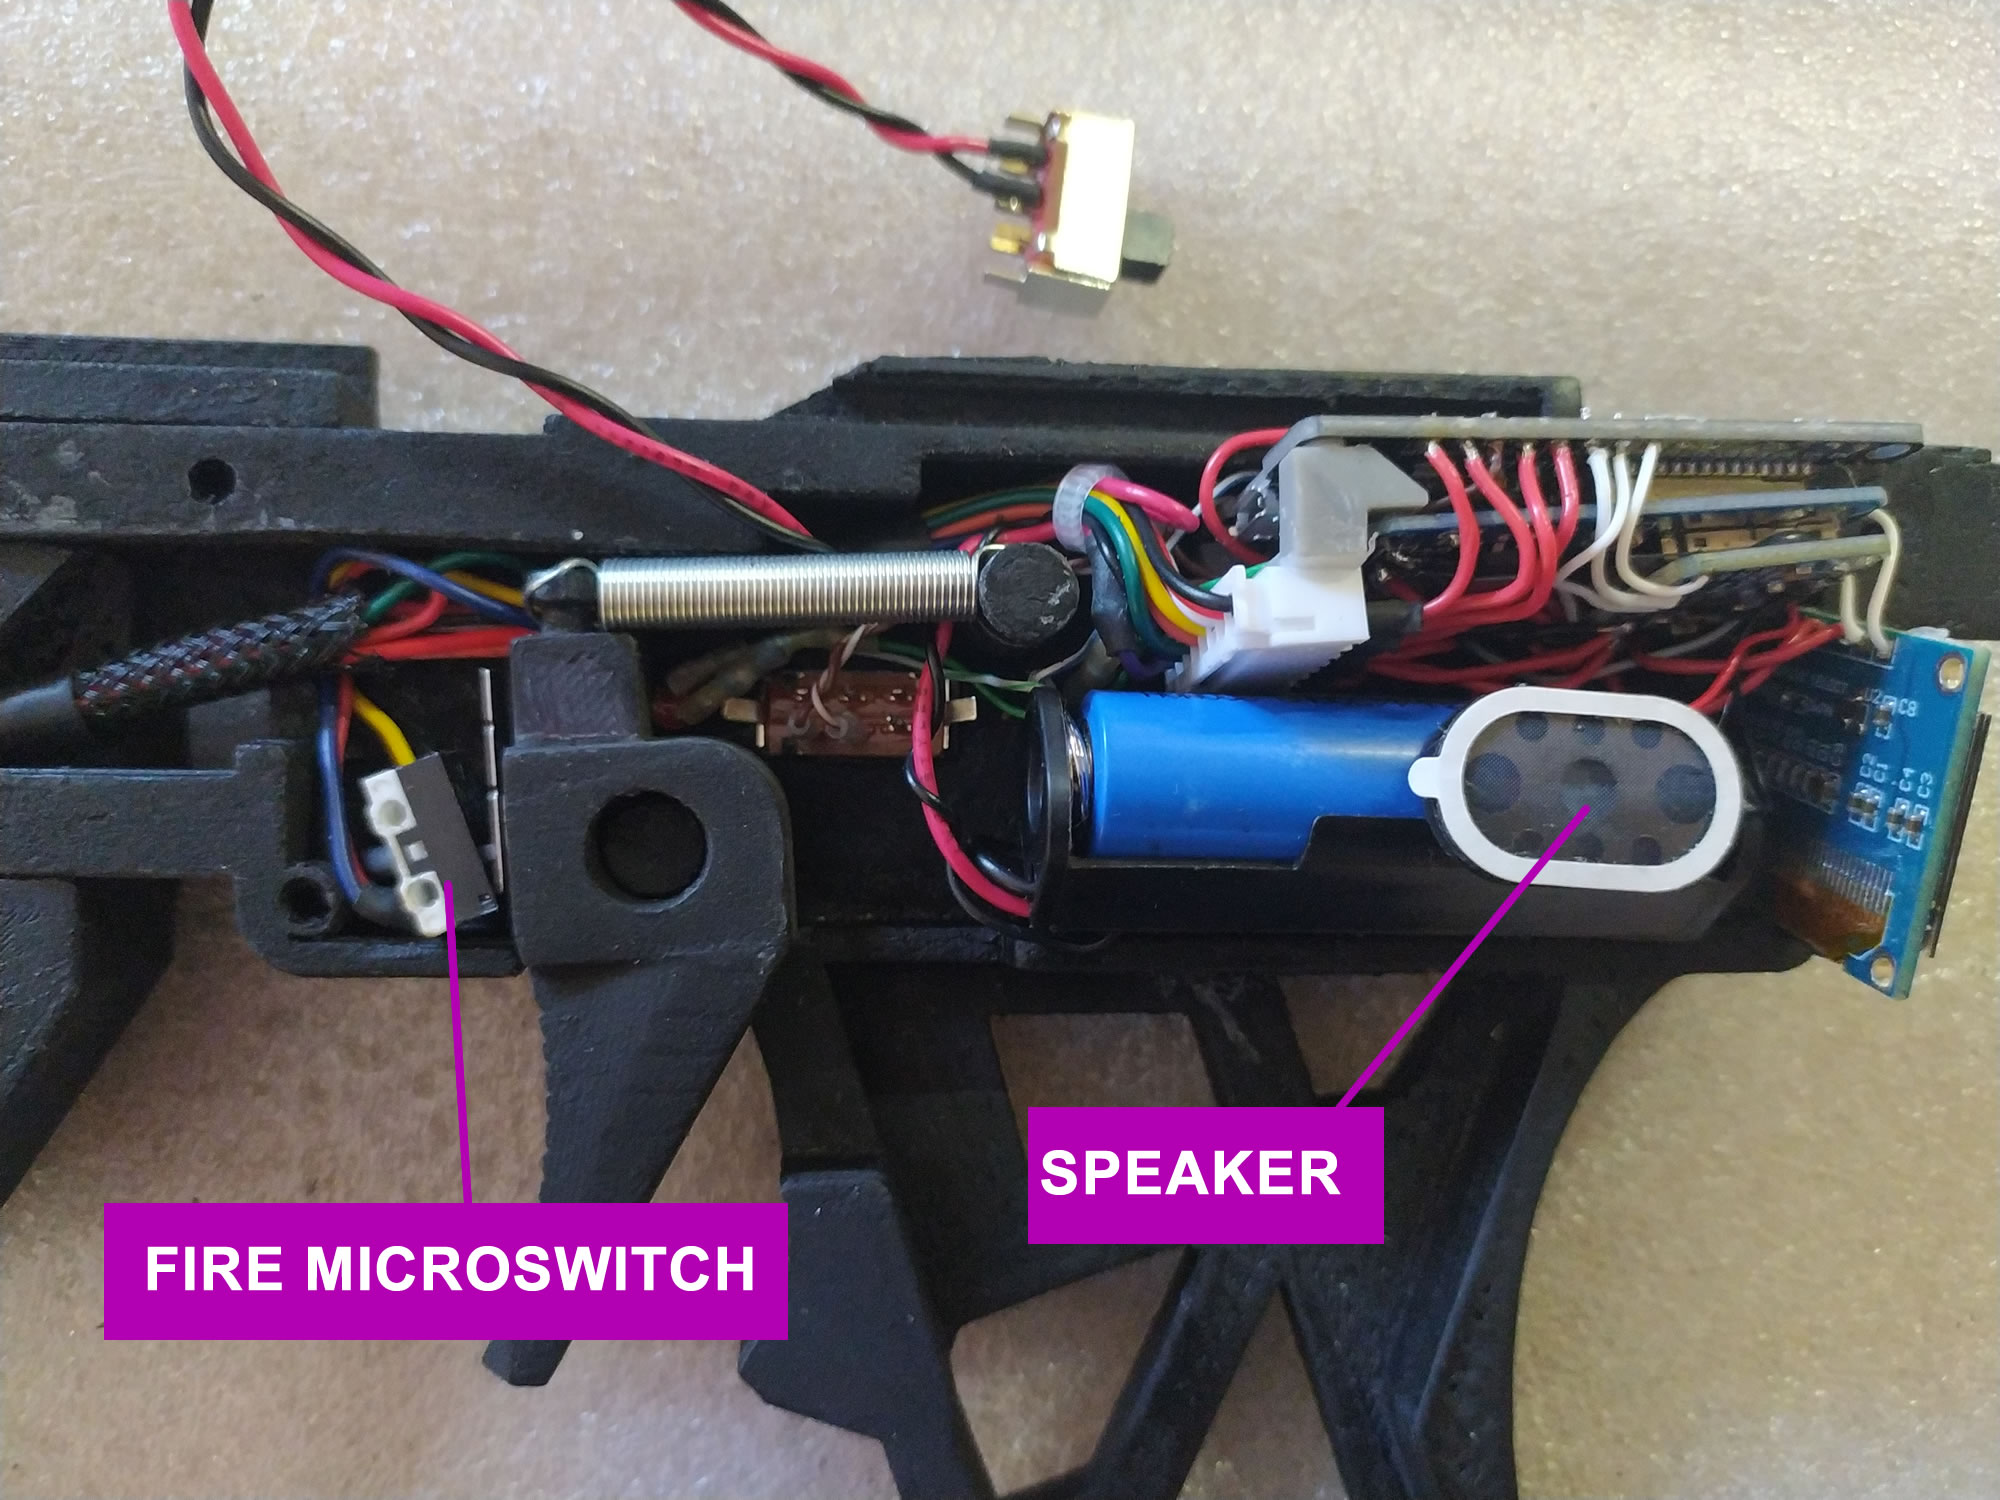
Fit the ‘FIRE’ microswitch and glue into place ensuring trigger activates switch when pulled.
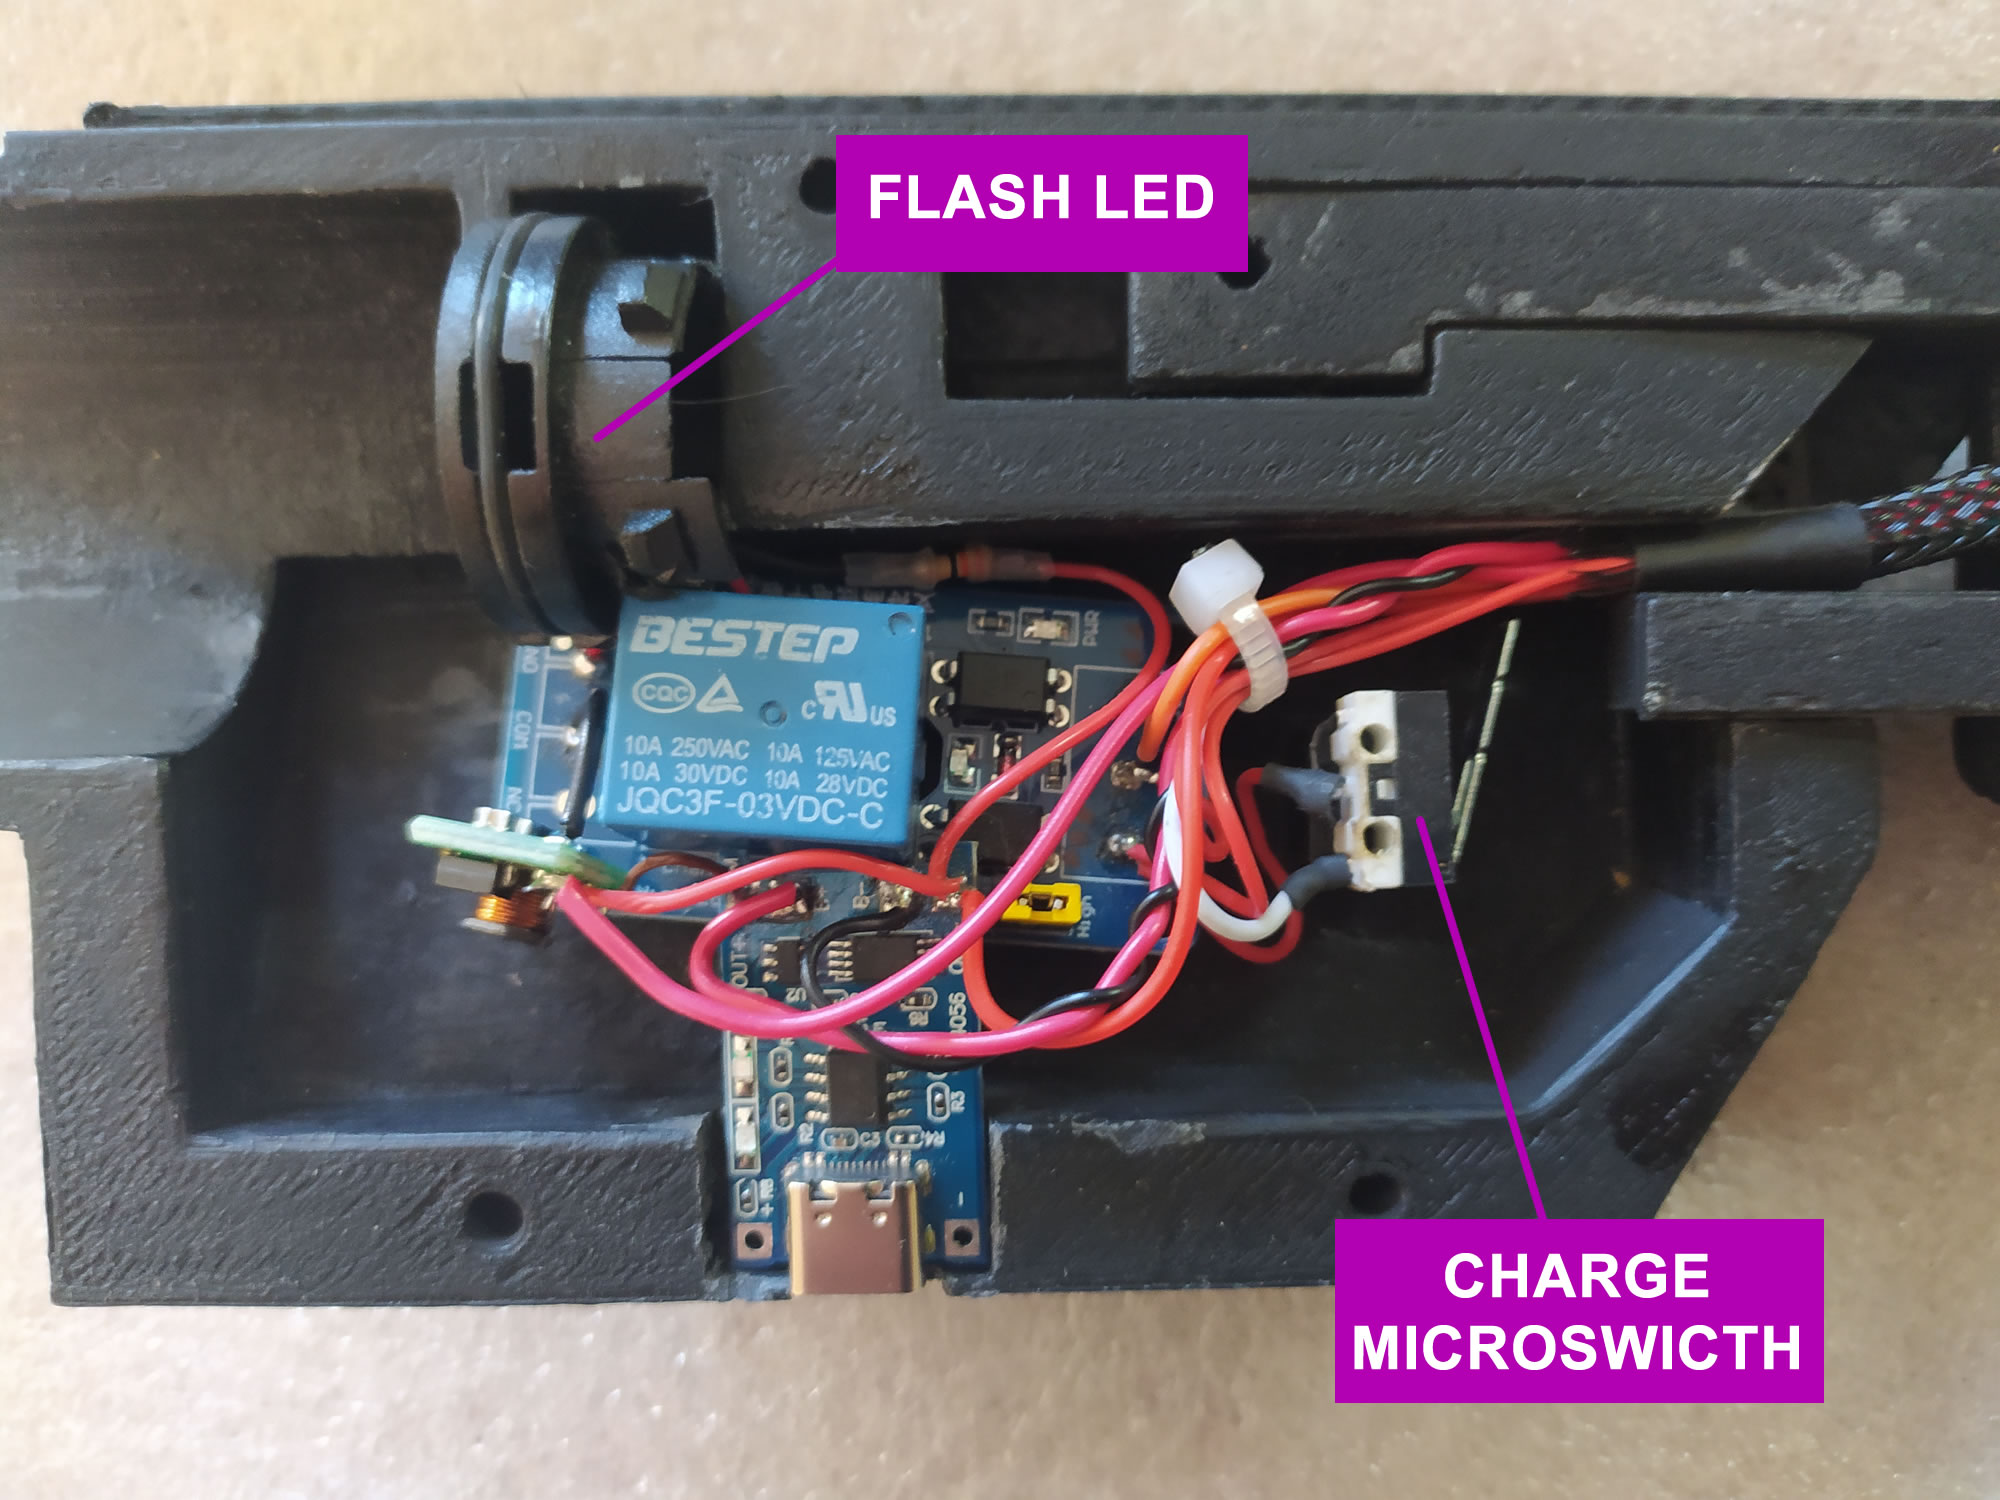
Fit the ‘CHARGE’ microswitch and glue into place ensuring it activates when housing slides.
Fit Flash LED
Fit the lense and mount the power switch into the other half of gun body.
Some experimentation is needed with placement of the lens, slide this in and out of the barrel firing a pulse to obtain desired flash focal size on a test target approx 5m away. Glue into place when happy.
Wire as per schematic and assemble as shown below.
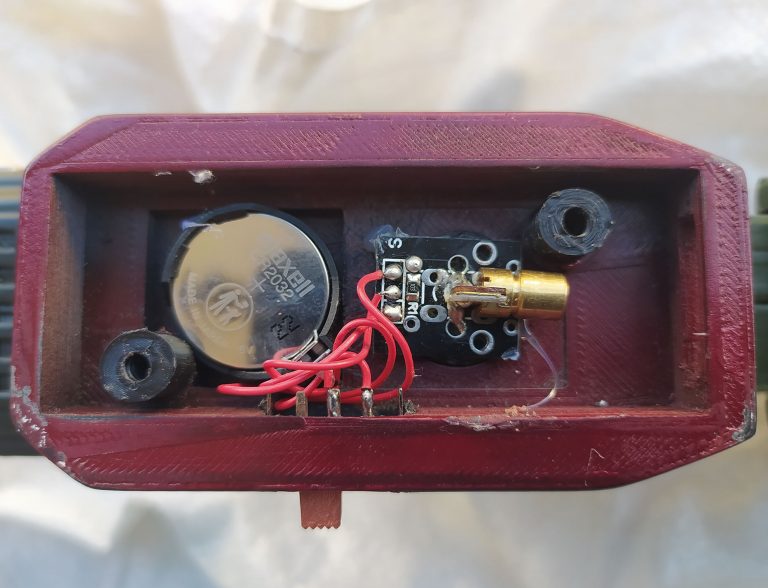
The laser unit itself is mounted on the small swivel, this allows calibration of dot.
WARNING
These lasers are specified as being under 1mw which is within the Australian safety standard however when dealing with lasers its always adivsible adopt best practice and NEVER LOOK DIRECTLY INTO THEM BEAM.
3023 Button Battery Holder
Arduino Laser
Under 1mw
SPST Slide switch
Housings screws are M4x20 but will need to be cut down to exact length needed.
If you have problems email me enigma@staratlassian.com and I will help out.
No products in the cart.